How to Build a Website with WordPress: A Step-by-Step Guide
Do you want to start a website but don’t know where to start? WordPress is a great platform for website building and it’s easy to learn. In this step-by-step guide, we will show you how to create a website using WordPress. We will walk you through the process of registering a domain name, choosing a web host, installing WordPress, and customizing your website. Let’s get started!
Table of Contents
Choose a web host and register a domain name.
There are a variety of web hosting providers to choose from. Once you’ve found one that fits your needs, register a domain name. This will be the address people use to find your website.
If you’re not sure what website hosting is or where to begin, we have a guide that can help get you started.
Assuming you’ve chosen a web host and registered a domain name, it’s time to install WordPress. While there are other content management systems (CMS) out there, WordPress is by far the most popular. In fact, over 35% of all websites on the internet use WordPress.
Installing WordPress is usually pretty simple. Most hosts offer a one-click install option from within your account control panel. If your host doesn’t offer this, don’t worry. Installing WordPress manually is still pretty easy.
There are two different ways to install WordPress. The first is to use the Famous Five Minute Install and the second is to do it manually.
Configure WordPress settings
After you have installed WordPress, the next thing you need to do is configure the settings. You can do this by going to the Settings tab in the left-hand sidebar and then selecting General. Here you will be able to change things like your website’s title and tagline, as well as the time zone and date format.
Next, you will want to go to the Permalinks section and choose a permalink structure for your website. we recommend choosing either the “Post name” or “Day and name” option.
Finally, you will want to click on Save Changes before moving on to step four. Congratulations! You have now installed WordPress and configured the basic settings. In the next step, we will show you how to add content to your website. Stay tuned!
If you have any questions or run into any problems, feel free to leave a comment below and we will try our best to help you out. Thanks for following along!
Next, you need to choose a theme for your website. You can do this by going to the Appearance tab in the left-hand sidebar and then select Themes. Here you will be able to browse through all of the available themes or search for a specific one.
Once you have found a theme that you like, click on Install and then Activate. You should now see the new theme applied to your website. If you don’t like it, you can always switch to a different one.
To customize your theme, go to the Appearance tab and then select Customize. Here you will be able to change things like the colors, fonts, and layout of your website. You can also add or remove widgets and create custom menus.
Create pages and posts for your website
Once you have created your website‘s structure, it is time to start filling it with content. Pages and posts are the two main types of content that you will create in WordPress.
Pages are static pages on your website, while posts are dynamic and appear in reverse chronological order on your website’s home page. You can create as many pages and posts as you want, and each one can be customized with its own unique content and settings.
To create a new page or post, go to the Posts menu in the WordPress admin area and click on Add New. The Add New Post screen will open up where you can enter the title of your post, as well as its contents.
Add images, videos, and other multimedia content
Adding images, videos, and other multimedia content is a great way to make your website more engaging for visitors. multimedia content can help explain complex concepts, add visual interest, and even provide entertainment value. including multimedia content on your website can also help you rank higher in search engine results pages (SERPs) since search engines favor websites that offer a rich user experience.
To add multimedia content to your WordPress website, simply create a new post or page and click on the “Add Media” button. From there, you can upload or insert files from your computer or from online sources like YouTube or Flickr. Once you’ve added your media files.
Customize the appearance of your website
Now that you have your website set up, it’s time to start customizing the appearance. This can be done by editing the theme files or by using a plugin.
If you want to edit the theme files, you’ll need to know how to code in HTML, CSS, and JavaScript. If you don’t know how to code, you can use a plugin instead.
There are many plugins available that allow you to customize the appearance of your website without needing any coding knowledge. Some popular plugins include:
– WordPress Customizer
– WPBakery Page Builder
– Gravity Forms
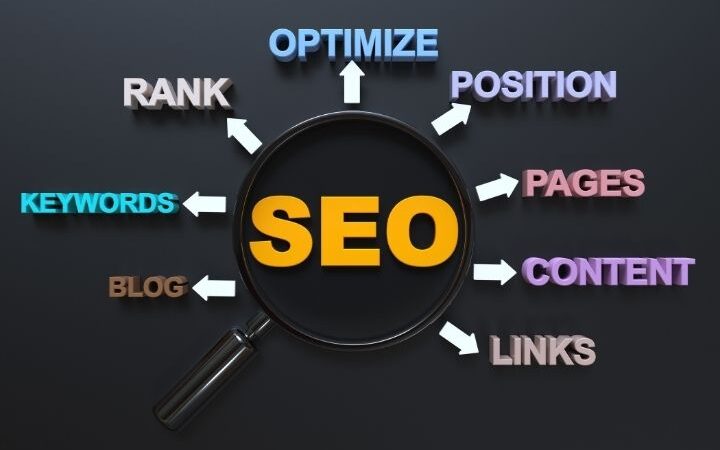
– Yoast SEO Plugin
– Jetpack Plugin
To find out more about these plugins and others, you can read our article on the best website builders for WordPress.
Once you’ve installed and activated a plugin, you’ll need to follow the instructions on how to use it. Each plugin is different, so make sure to read the documentation before getting started.
Also Read : 7 Types of Cyber Security Threats and How to Protect Against Them